Hello everyone, welcome back it's been some time since I have posted, but I actually have just been busy painting and building. Figured it's too easy to write about theory without having anything to back it up, so I may have to shift gears until I can start getting more games in consistently. However another new challenger has entered the arena, which I can not stress how awesome it is when someone starts 40k. Then you think about all the things you have learned over the years and for some reason we try to cram it all in, like we are just going to upload our info like the Matrix.
Whoa! I should thin my paints, Sandra!
It really seems that 8th edition Warhammer 40,000 has brought a new surge of life to the hobby, I know it rocketed me back into this wonderful hobby. The rules are streamlined, the game feels more alive because it seems like everything just dies, except guardsmen they are the new cockroach. I can attest to three people starting 40k in the past year, and I have a hard time explaining my thoughts so this should be the best place for all of us to start. Now let's start our journey into the wonderful world of 40k and get our little armies ready to bring us glory at the tabletop.
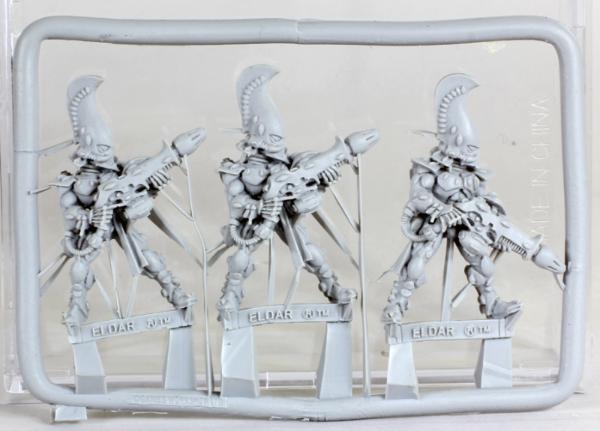
Okay, so when your models look like this your ready to go!
So before we take the plastic wrapping off of our new box of plastic crack, let's make sure we have everything we need just to build the models! First that we need are some side pliers or something to cut the models off the sprue, just be careful not to cut your fingers off. After you cut the piece off there might still be a little left over plastic where you cut it, this is called flash. Flash can also be where some of the molding material came out of the mold, this is where you need a hobby knife and some files. You may also notice mold lines on your model, you should just go ahead and take those off while you are building your model, as you get better at painting you will appreciate the small effort to get rid of these.

Now you should have all your little dudes parts floating around a desk, floor, couch, or across the room, it can be a messy process. Now if you aren't gifted with foresight then you might notice your little model pieces aren't staying together, you're going to need some adhesive. This is where we have to talk about what your material is made out of! Since this is a 40k blog, I am going to assume that you are putting together Games-Workshop models like the good boys and girls that you are. That means that there are two types of materials out there, plastic and resin (Citadel Finecast, sigh-duck).
This is finecast
This is Plastic
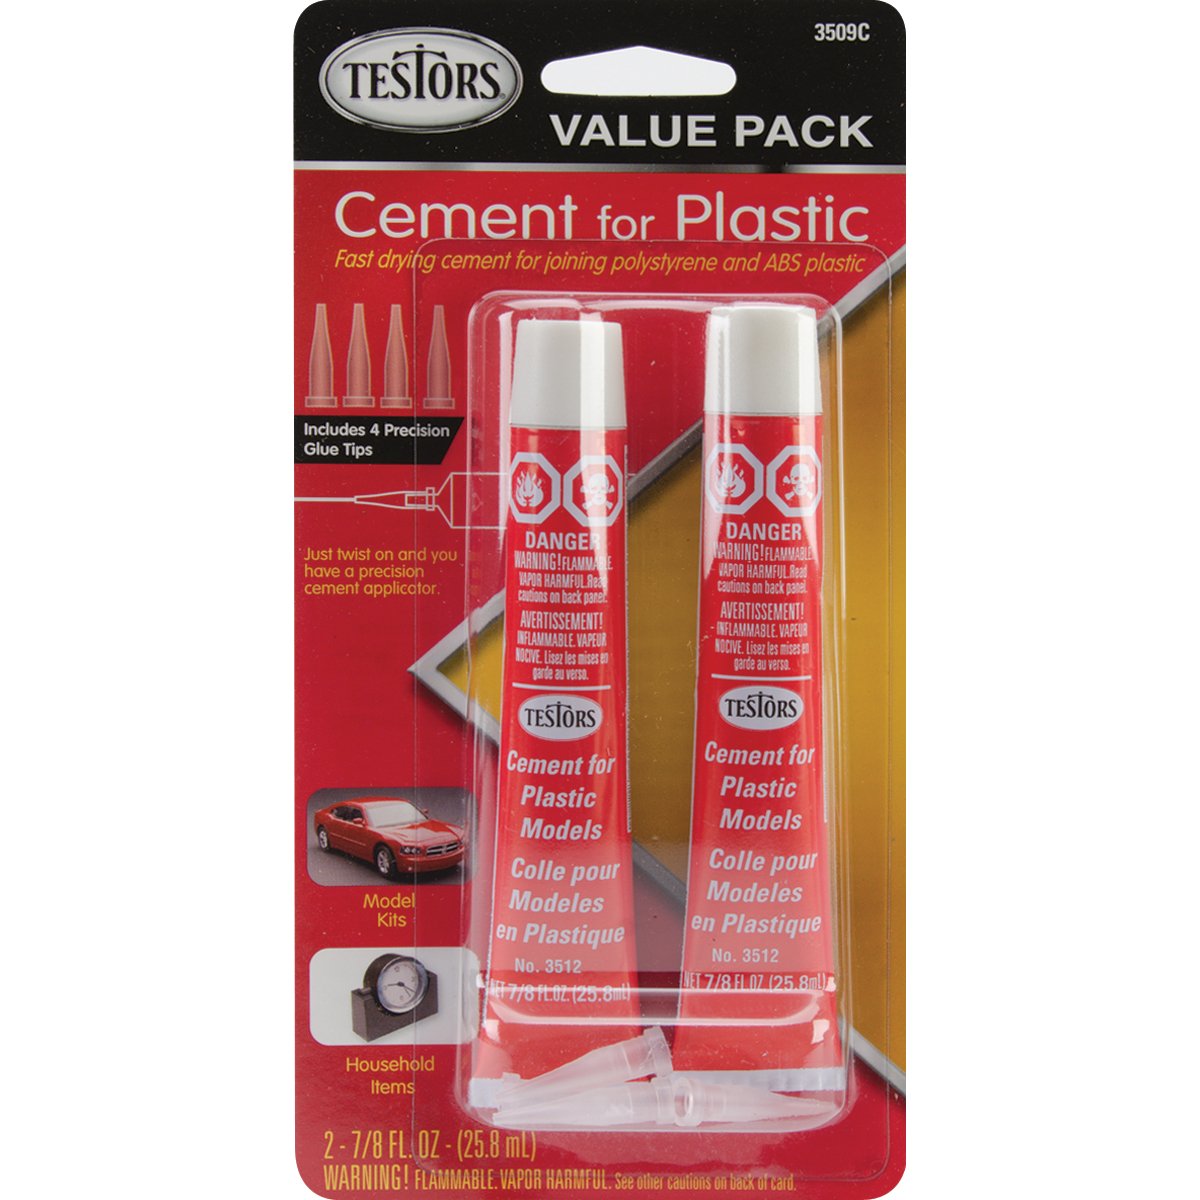
So now that you have Sherlocked which type of material you are working with, you can now reach for the proper adhesive. When dealing with the plastic models you want a plastic cement, this will melt and fuse the two pieces together. I have always used the Testors Cement in the red tube, I've tried others but nothing is better than this stuff. With resin models you need to use super glue or just a strong gluing compound, BUT before you go gluing your resin models together. You MUST WASH THEM IN WARM WATER WITH DISHSOAP!!! Your glue or primer will not stick right, because they use a non-sticking compound to help the model release when it is done. So always wash your resin models. (don't use super hot water as you might melt the models).
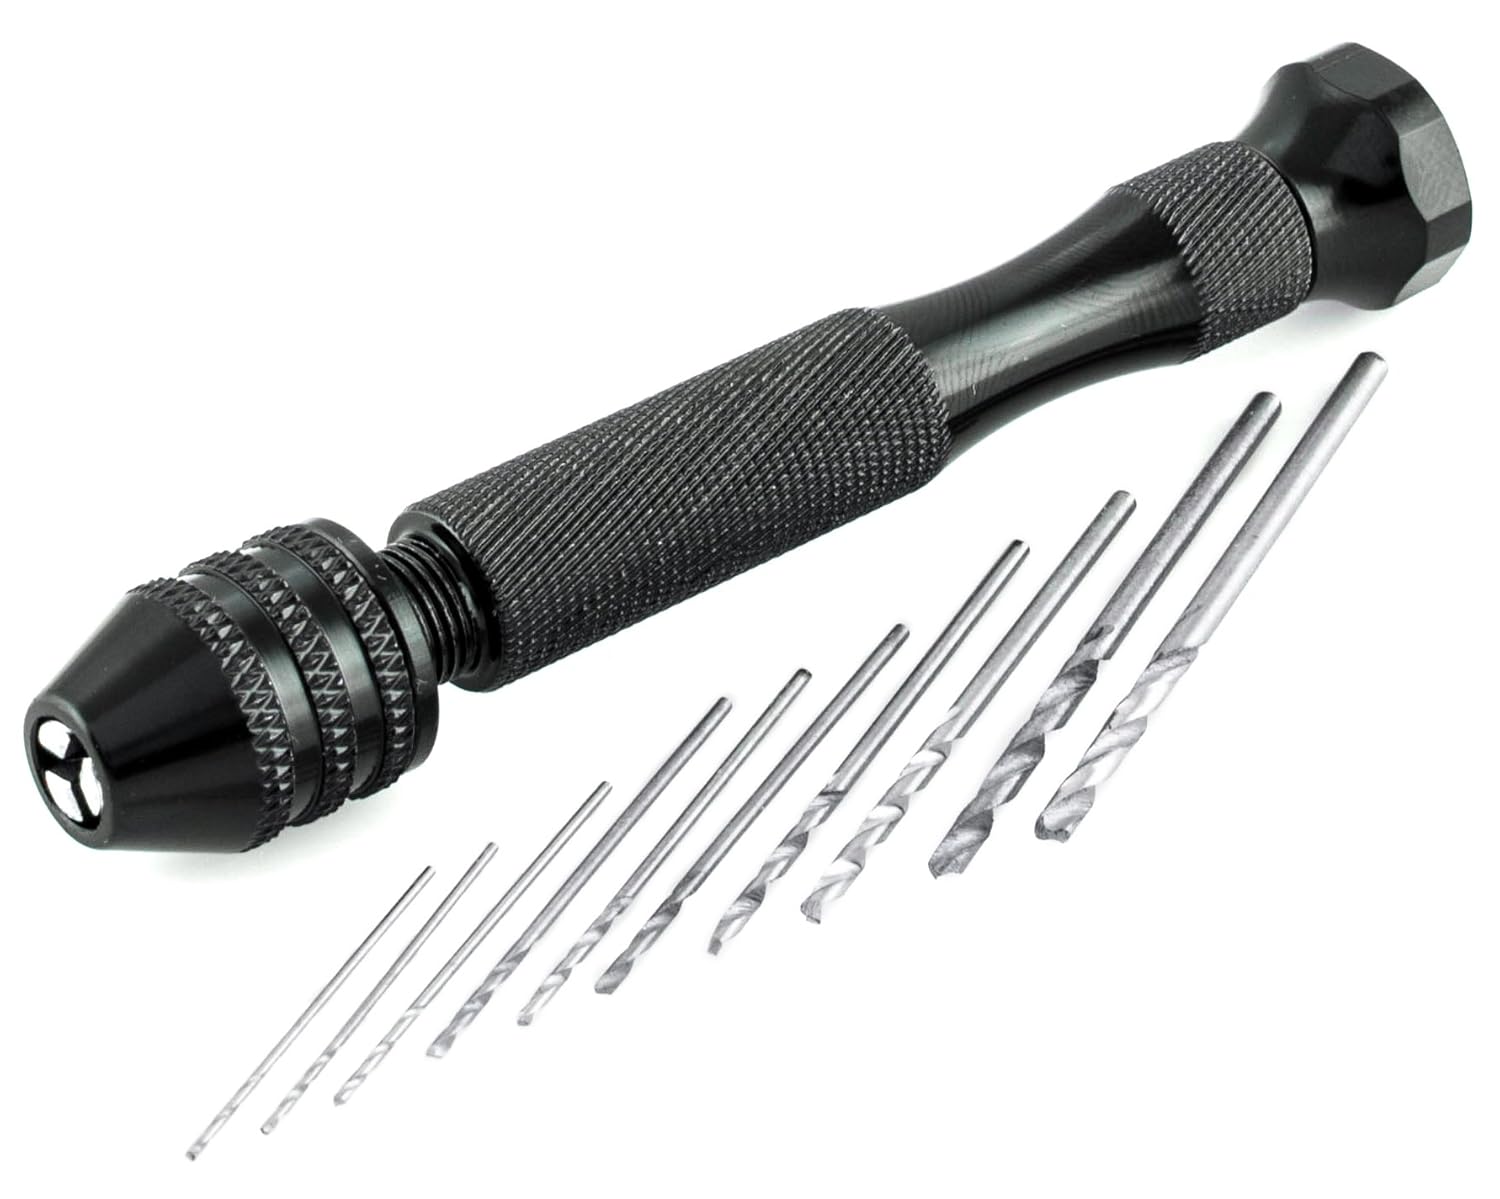
There is also one other thing I would like to mention before you go creating life in your miniatures. The pin vice is one of the best tools you can have to keep your models together, especially old metal models or the flimsy resin models. Just drill a little hole in the two parts and use a little bit of paper clip to help reinforce the joint, an extra 30 seconds on your building time will ensure those pesky soldiers only loose their limbs in war, not on the way to the battlefield! You can also get a head start on magnetizing your models, which is another hobby hack and an article when I get some more stuff to build. Lastly, you can drill your gun barrels out, it's one of those things that once you do it, you always do it. So seriously just get a hobby pin vice, don't get a dremel, it goes to fast and you will either melt plastic to the bit, or go through it into your finger. I didn't think it could happen to me, but if you're feeling lucky punk, go ahead, when I say I told you so you can send me $100 and we'll call it even. Spray a little WD-40 in the spinning head part when you first get it, it makes a world of difference.
Okay now you are on your way to assembling your troops to become the back bone of your army. There is still much to do, basing, priming, painting, and then finally you can take them to battle, where you find out they aren't "meta" but it doesn't matter because you put your heart and soul into them. We will cover everything as we continue down this trail. These are just my personal recommendations, I have linked for simplicity. Please don't hesitate to ask questions, I will come back with a priming and basing article, then a painting article. I will be talking about the basic how to do articles and once I get some more miniatures I will do a guided walk through.
Lastly, here is what I have been working on.